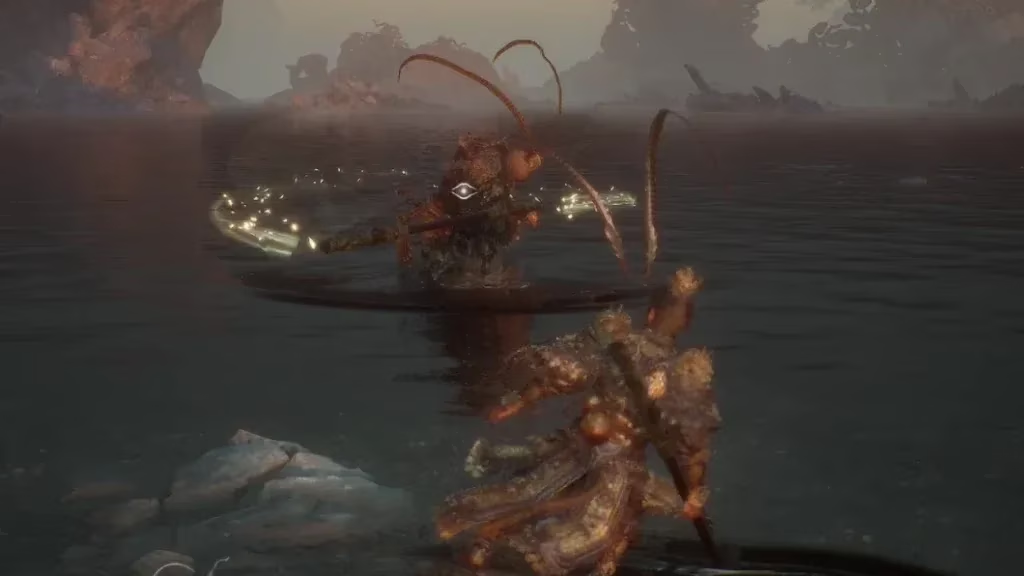
For any pilgrim seeking to complete their sacred quest, the ultimate trial awaits: a climactic duel against two formidable beings, the Stone Monkey and the Great Sage's Broken Shell. These epic boss battles serve as the culmination of the player's entire journey, testing mastery over every skill and stance learned. The Stone Monkey, a creature of immense elemental power, unleashes slow but devastating attacks that ripple out with dangerous shockwaves. His successor, the Great Sage's Broken Shell—a spectral echo of the legendary Wukong—presents an even greater challenge, wielding a move set that mirrors the player's own, making him a cunning and relentless adversary.
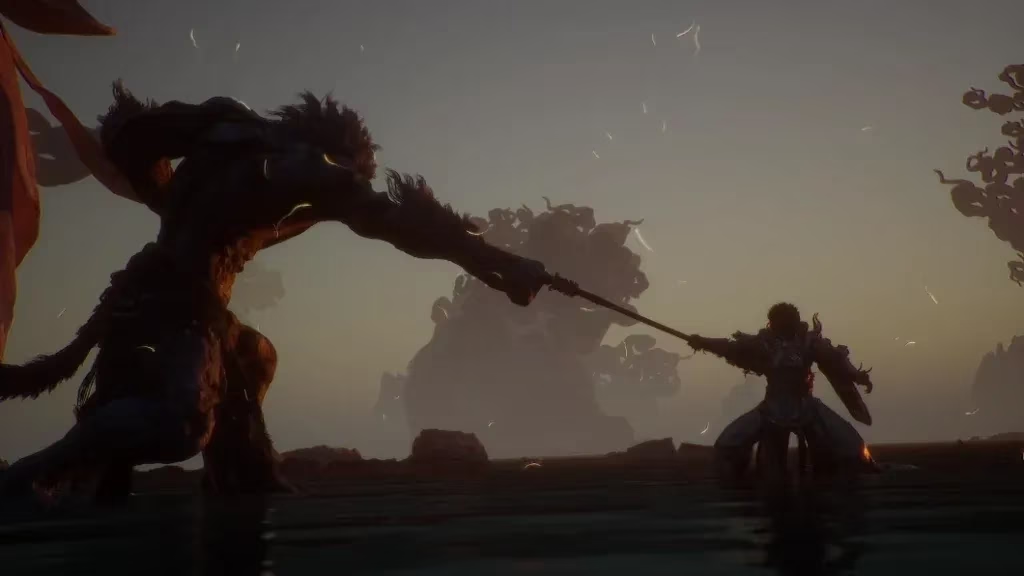
The confrontation with the Stone Monkey unfolds across two distinct phases. Initially, he imbues his assaults with frost energy, chilling the Destined One with each successful hit. After depleting his health bar, the boss miraculously heals to full vigor, now wreathed in both ice and fire. This empowered state introduces several new, perilous abilities. While his move set isn't vast, every strike hits with colossal force and covers a wide area, demanding constant vigilance. He becomes most dangerous below 60% health in the second phase, so players are advised to conserve their most potent resources for this critical juncture.
Stone Monkey: First Phase Tactics and Key Moves
Players should enter this fray with the build they find most intuitive, though Pillar Stance proves exceptionally effective for countering his numerous shockwaves. Utilizing Churning Gale during the boss's slower attack animations allows for significant damage windows. Furthermore, the Azure Dome transformation, a gift from Erlang, serves as a powerful tool for dealing substantial harm. While Immobilize spells are ineffective here, a well-timed Ring of Fire can provide crucial healing and focus generation for executing Varied Combos. Given the battle's lengthy duration, equipping the Gilded Radiance set to generate extra Qi is a wise strategy, enabling more frequent use of Spirit abilities and the versatile Plantain Fan.

Most of the Stone Monkey's basic attacks are telegraphed and slow, making initial dodges straightforward. However, the real threat often lies in the shockwaves that emanate from his impacts, requiring a second, well-timed evasion.
-
Ground Pound & Shockwaves: A particularly nasty attack where he slams the ground, sending concentric shockwaves outward. Players can dodge through or jump over each wave. A clever alternative is to use the Pillar Stance Heavy Attack to perch atop the staff, avoiding the waves entirely.
-
Heavy Attack Counter: When the player uses a Heavy Attack, the Stone Monkey may counter with a move akin to Cloud Step, leaving a decoy before striking. This makes it riskier to rely on charged heavies; spending Focus on Varied Combos is generally safer.
-
Rock Solid Defense: The monkey can activate Rock Solid, turning his skin to stone and deflecting the next attack. Striking him during this state triggers a brutal, high-damage grab sequence. The counterplay is simple: cease attacking when he hardens and resume once the effect fades.
Stone Monkey: The Fiery Second Phase
Upon entering phase two, the boss retains all his icy techniques and supplements them with scorching counterparts. Fiery rings now expand from his attacks. These can be dodged through, jumped over, or avoided using Pillar Stance.
The fire version of his Heavy Attack counter is more complex. He strikes the ground, creating an expanding ring of flame. After a short delay, the ring collapses back inward, dealing damage a second time. Players must be alert and avoid the returning ring as well!
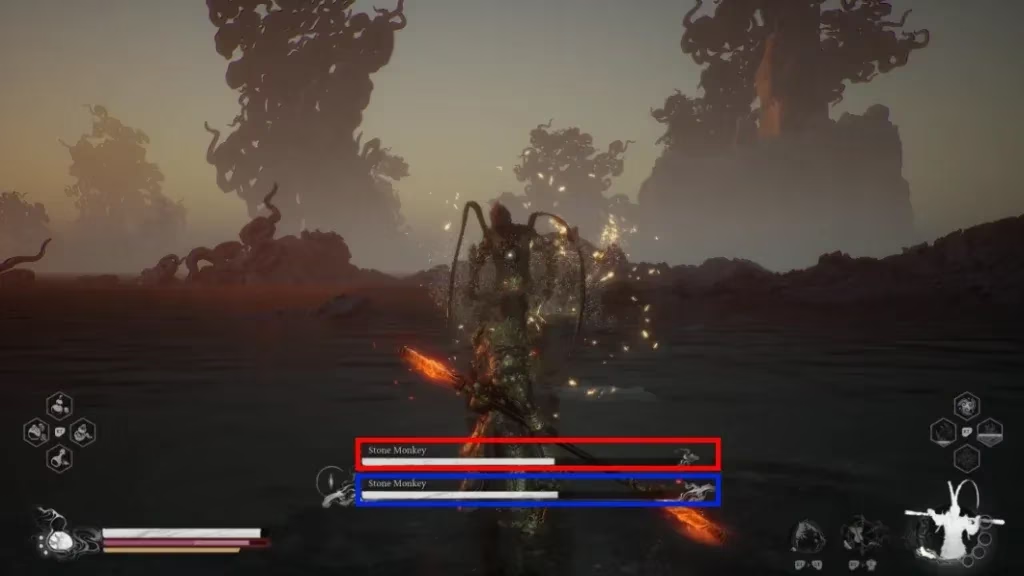
At 60% health, the fight intensifies as the Stone Monkey plucks hairs to summon a duplicate. This creates chaos as both entities attack simultaneously. To identify the real boss:
-
Attack the clones.
-
If the upper health bar (red) depletes, it's the duplicate.
-
If the lower health bar (blue) moves, it's the true boss.
Players can either eliminate the duplicate for a cleaner fight or focus solely on the main target to end the encounter faster.
Additionally, he gains a jump attack combo: an icy leap followed by two ground pounds that release fiery shockwaves. Avoiding the initial freeze is critical, as being immobilized makes evading the subsequent fire waves nearly impossible.
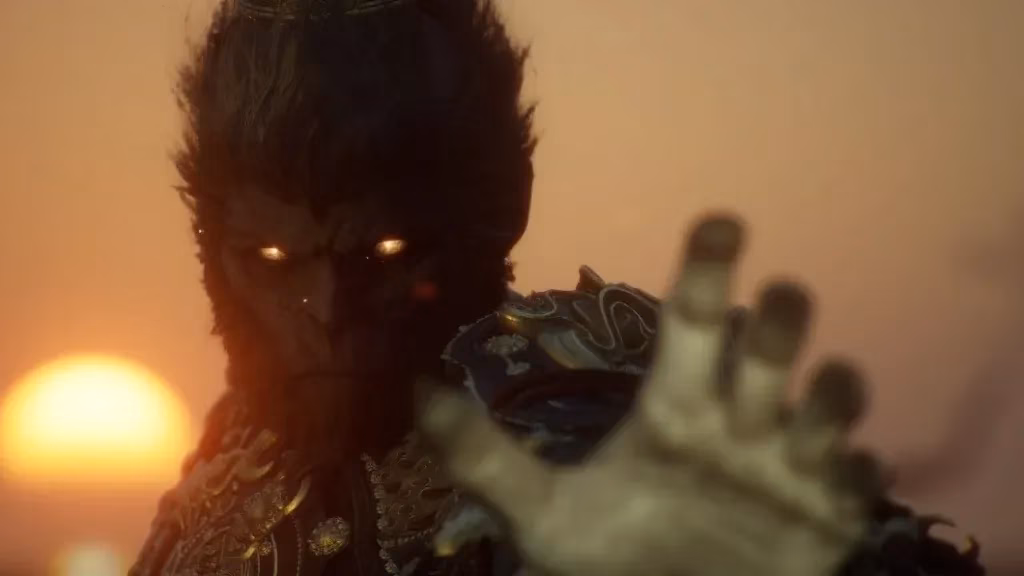
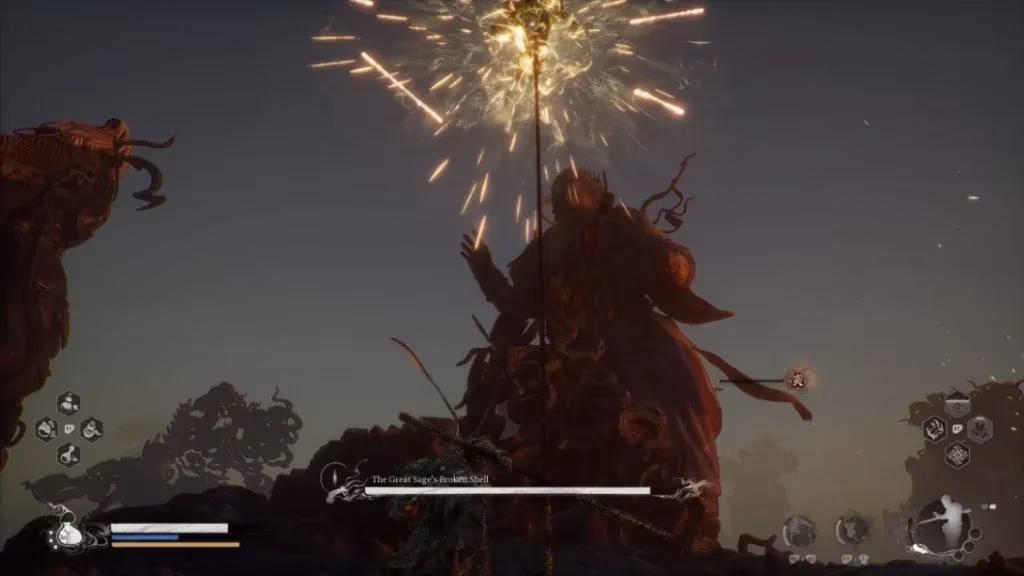
The Mirror Match: Great Sage's Broken Shell
After the Stone Monkey falls, the battle transitions immediately to the Great Sage's Broken Shell. Health and resources are replenished, and a merciful checkpoint shrine appears should the player fall, allowing for build adjustments without redoing the previous fight.
This is another two-phase duel. The first phase sees the Broken Sage employing various stances that mirror the player's own arsenal. After reducing his health to zero, he draws power from Wukong's Relics, fully heals, and enters a far more dangerous second phase, augmenting his attacks with additional abilities.
As with the previous boss, Ring of Fire and the Plantain Fan remain effective tools. Familiarity with his basic moves is a double-edged sword; while players recognize them, the Broken Sage chains them together with relentless ferocity, often unleashing multiple charged heavy attacks from different stances in quick succession.
He is also supremely evasive, frequently dodging attacks and even evading charged Heavy Attacks. To counter this:
-
Use Smash Stance: The Varied Combo Resolute Strike can track the boss mid-dodge, allowing for a guaranteed hit. Chain this into Skyfall Strike for extra damage and positioning.
-
Consider Spell Binder: For adept players, this stance offers another potent method to pressure the boss.
Great Sage's Broken Shell: Attack Breakdown
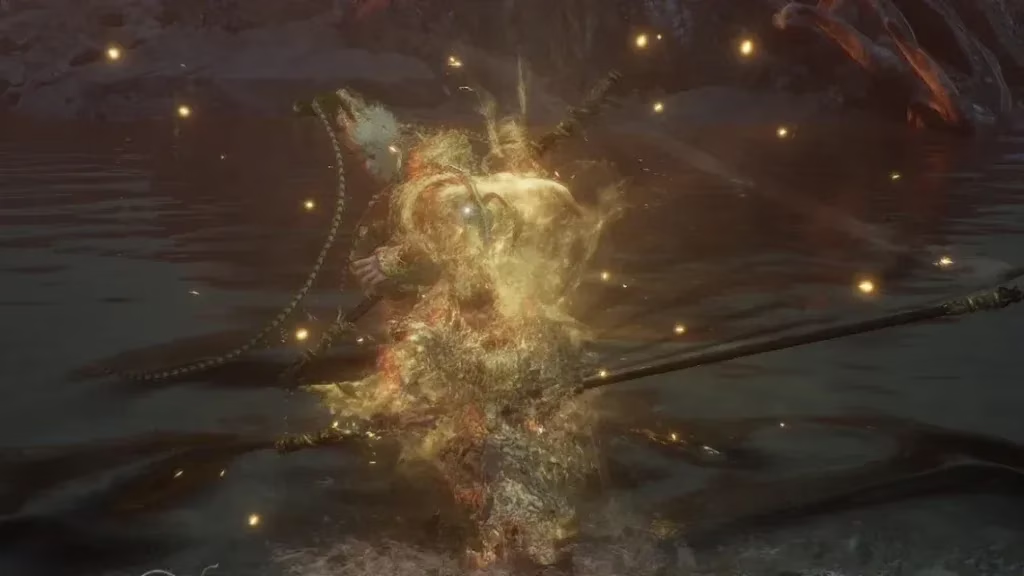
- Evasive Afterimage: When he dodges, he leaves a golden afterimage that explodes shortly after. Attacking him twice during his dodge often prompts a Weapon Throw counter. The safe play is to disengage momentarily after seeing a dodge.
- Weapon Throw: Unlike the player, the Broken Sage has a potent ranged option, hurling his staff which then returns. This is relatively straightforward to sidestep.
- Enemy Ring of Fire: He can cast his own Ring of Fire, gaining damage reduction while inside. Try to lure him out of it, though standing in it yourself grants Focus. The ideal scenario is you inside the ring, with the boss outside.

-
A Pluck of Many: This spell summons a sequence of duplicates that attack one after another. Each strike is powerful, requiring precisely timed dodges to survive the onslaught.
-
Pillar Assault: Mimicking the player, he hops onto his staff and rains down projectile strikes before finishing with a powerful landing. Use Staff Spin to deflect the projectiles or simply sprint out of the way, then dodge the final impact.
- Rock Hard Parry: Just like the Stone Monkey, he can use Rock Hard to deflect attacks and initiate a devastating grab. Cease attacking when he petrifies, and dodge away immediately if you accidentally hit him.
Great Sage's Broken Shell: Phase Two Dangers
The second phase introduces new threats that demand absolute focus.
- Immobilize Spell: The Broken Sage can now cast Immobilize. He may combo this into an attack, or simply watch from a distance if the player is far away. Counters include using Cloud Step or waiting out the duration based on your health situation.

-
Somersault Cloud Charge: He may mount his Somersault Cloud and perform a swift charge attack, swooping down on the player's location. Dodge as he closes in to avoid the strike.
-
The Final Trick - Gourd Theft: Extreme caution is required when the boss is around 10% health. He can use Immobilize to freeze the player and steal the Gourd, taking a healing drink for himself. To heal safely at this stage, use Cloud Step to create distance and seize a momentary opening.
In conclusion, emerging victorious from this ultimate gauntlet requires the player to synthesize every tool at their disposal: mastery of Stances, strategic use of Vessels and Spells, and flawless execution of Varied Combos. The journey from confronting the elemental fury of the Stone Monkey to out-dueling one's own reflection in the Great Sage's Broken Shell is the definitive test of a true pilgrim's skill and resolve.